The best mailbox is a matter of opinion and you have a lot of choices. Residential mailboxes come in a variety of styles. You can choose a plastic mailbox, metal mailbox, wooden mailbox, decorative mailboxes, wall mount mailbox or a locking mailbox.
I could easily list the top 10 best mailboxes and give a small review of each of them like every other website, but I want to go much further than that. I am going to tell you what I think is the best mailbox and post combo, but then show you exactly how I installed it.
What is the Best Type of Mailbox
For me it came down to two choices. Either a normal regular mailbox or a secure locking mailbox. I read all about some great locking mailboxes, I liked the idea that you could just leave your mail for a few days and not have to worry about somebody coming along and taking it.
I read about how secure and safe they are. I thought to myself that sounds great. I eventually made up my mind that I was definitely going with a locking mailbox.
However after continuing to research mailboxes and looking at all of the options I began having second, third, and fourth thoughts about a locking mailbox. I really didn’t like the small mail slot size on the locking mailboxes.
I also didn’t like having to worry about always taking a key with me just to get the mail. I thought to myself what if the lock eventually corrodes and jams? What if I lose the key? Now what do I do? Do I have to pry this thing open?
Now of course if you live in an area where mail theft is a problem I would absolutely recommend getting a locking mailbox. I ultimately decided to go with a traditional mailbox with post.
There are a lot of standard mailboxes to choose from so that took much further research but I eventually found the one for me. In my days of research (more like weeks) I discovered an amazing way to install the mailbox post without concrete.
What is the Best Mailbox and Post Combo?
In my opinion the best mailbox and post combo is:
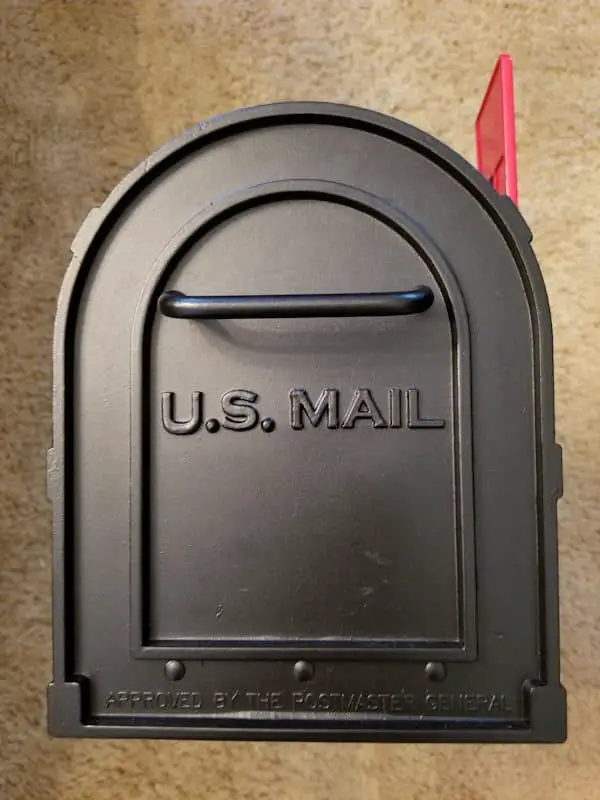
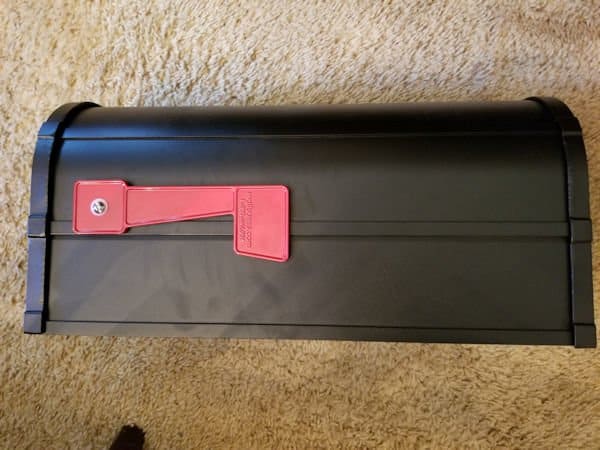
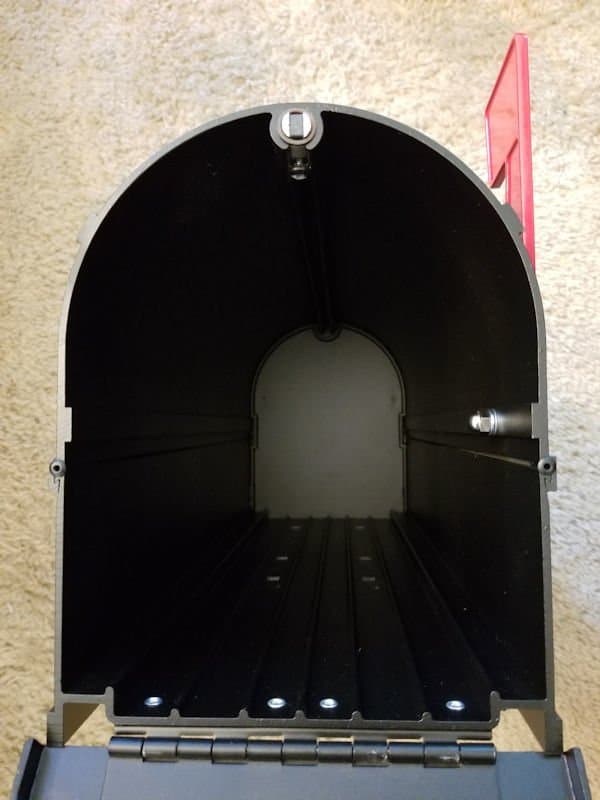
The Salsbury mailbox is a heavy duty aluminum mailbox. It is nothing like the cheap plastic ones you find at the big box stores. This thing is sturdy and feels and looks very well made. It comes in a variety of colors. You can choose beige, black, green or white. I picked the black mailbox.
One feature I really like is the mailbox door has a strong magnet that holds the door shut. It is a really nice touch, no more mailbox doors hanging open. I also used large 3″ inch mailbox numbers, #ad Hy-Ko Products MM-5N Self Adhesive Vinyl Numbers 3″ High, Black & Gold, 26 Pieces. This is where I had only a slight issue with the mailbox.
I wanted to place the numbers on the side of the mailbox, the area on the side of the mailbox to place the numbers only had room for about 3″ inches. Two ridges run along the side of the mailbox, which limits space for the numbers.
I like the ridges because they make the mailbox look good and they give the mailbox added strength. I applied the numbers on each side of the mailbox, the numbers didn’t quite fit and overhung the space ever so slightly. This is purely cosmetic.
I could have left it but I decided to get some scissors and trim a very small amount at the top of each number to fit it into the roughly 3″ inch area. After I did that they fit perfectly.
Best Mailbox Post
I think this is a great mailbox, but with the mailbox you also need the best mailbox post to go with it. The #ad Salsbury Industries Designer In-Ground Mounted Decorative Mailbox Post is the companion mailbox post for the mailbox. I think this is the best mailbox and post combo.
The mailbox post comes in three styles and several colors. The post is just as high quality and heavy duty as the mailbox. It is 81 inches tall and is made of aluminum. The inside of the post is hollow but do not try and put a 4×4 piece of wood inside the post when you install it.
The mailbox post is designed to be installed into the ground as is with nothing inside the post.
After doing extensive research I think this is the best mailbox and mailbox post combination you can find.
How to Install a Mailbox Post Without Concrete
For the mailbox installation I was originally going to take the traditional route. This involved sticking the mailbox post on top of a 6 inch deep bed of gravel and filling the hole with quick set concrete. I was all set to do this until I came across a unique product that I hadn’t seen before.
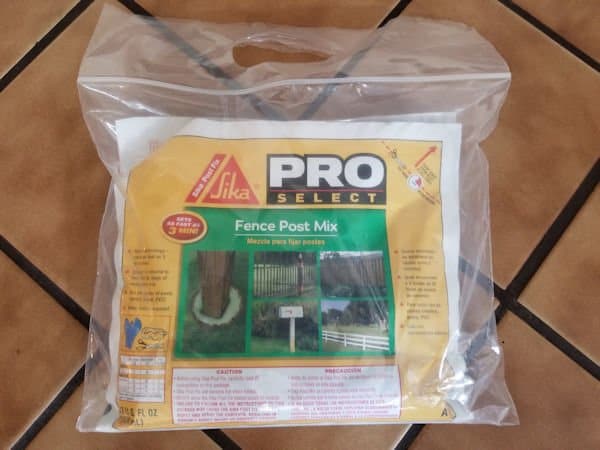
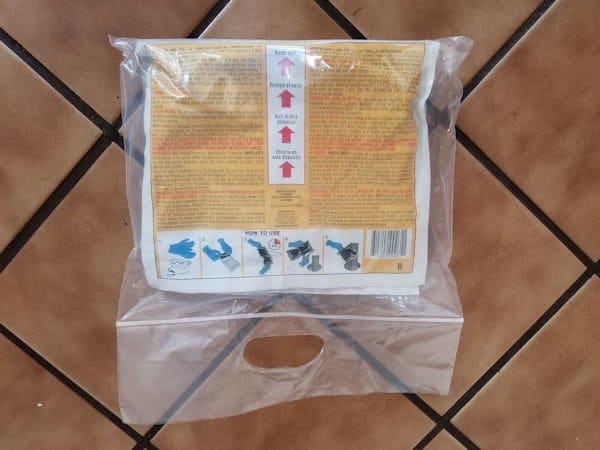
It is called #ad Sika Post Fix Fence Post Mix, this is a foam used to install posts. When I first came across Sika Post Fix I scoffed at the idea of installing anything in foam, it seemed ridiculous that it could ever work. I thought to myself, I’ve used foam in a can plenty of times to fill holes so I am familiar with foam and how easily it breaks apart.
This of course is not the same foam you get in a can. Sika Post Fix is a high density foam which makes it very tough. Intrigued by this I decided to just try the foam. If it was terrible and didn’t work I could easily just rip the mailbox out of the foam and go get some gravel and concrete and do it the traditional way.
I also did it on a Saturday so if it was a complete disaster at least I would have Sunday to try and fix it and I wouldn’t have to worry about the mail carrier showing up trying to deliver mail and finding no mailbox.
Being extremely skeptical that this foam would actually work. I watched a lot of videos and read all of the instructions about how to properly use the foam. Eventually I felt pretty confident that I could at least apply it correctly.
I really wanted this to work, if it didn’t work it was going to be a real pain to have to start over and I really wasn’t very excited about having to lug bags of concrete and gravel around.
Using Sika Post Fix
Before you dig always make sure to call 811 to mark any possible utility lines in the area.
The Sika Post Fix instructions say the hole must be 8″ inches in diameter and 36″ inches deep for a 4 x 4 post. After ripping the old mailbox out I was left with a hole 9″ x 10″ inches in diameter and 33″ inches deep.
The old mailbox post was stuck into the ground without any concrete over 20 years ago. We have heavy clay soil and since it was almost three feet deep it certainly seemed like it was installed with concrete. It was extremely difficult to remove from the ground.
What is the Height of a Mailbox
The Salsbury mailbox post is a 4 x 4 post and is roughly 62.5″ inches from the floor of the mailbox to the end of the post. I could not install the mailbox post 36″ inches deep per the instructions since it would sit far too low and not meet USPS specifications.
Here are the USPS requirements https://www.usps.com/manage/mailboxes.htm
Post office specifications state the mailbox should be between 41″ to 45″ inches from the road surface to the bottom of the mailbox or mailbox entry point. The mailbox also needs to be 6″ to 8″ inches back from the curb.
I decided to back fill the 33″ inch deep hole up to about 19″ inches deep. I tamped it down using part of the old mailbox post I broke off when I removed the old post. At 19″ inches this made the floor of the mailbox sit at about 43″ inches high which complied with the mailbox rules.
Pouring Sika Post Fix
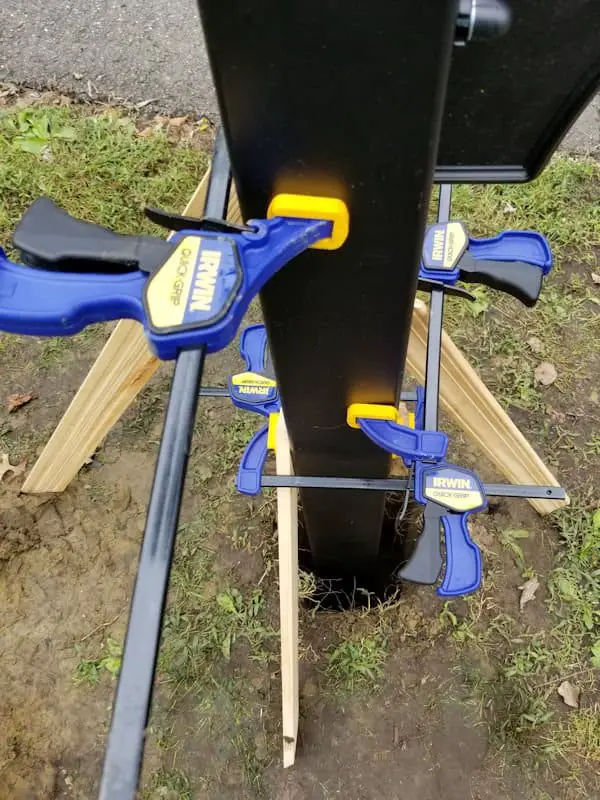
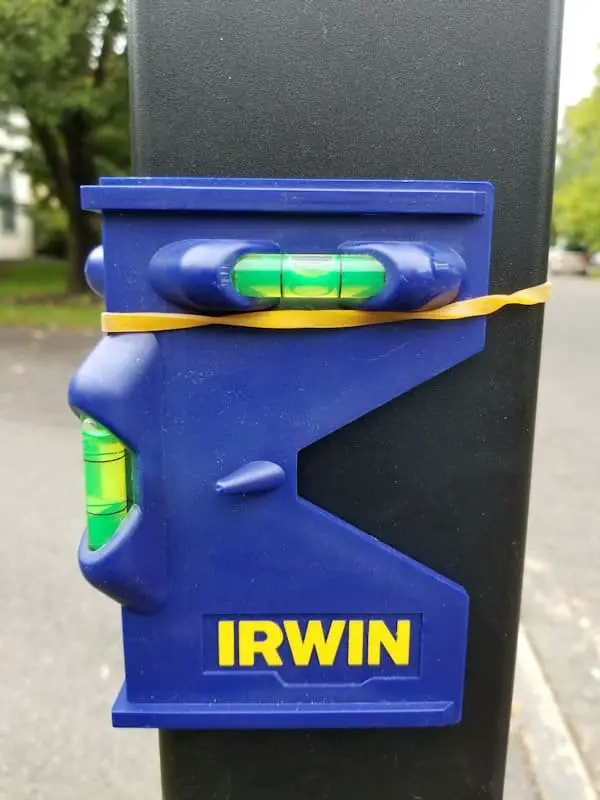
After following all directions on the bag I placed the mailbox post into the hole. I made sure everything was nice and level and braced it with #ad Irwin Tools QUICK-GRIP Clamp Set and pieces of wood I found lying around. I made sure everything was level using the #ad IRWIN Tools Magnetic Post Level
.
I then poured the foam liquid around the post. The instructions say to actually pour the liquid onto the post not just into the hole. Making contact with the post allows for a better bond with the post and also helps protect the post from rot if you are using a wooden post.
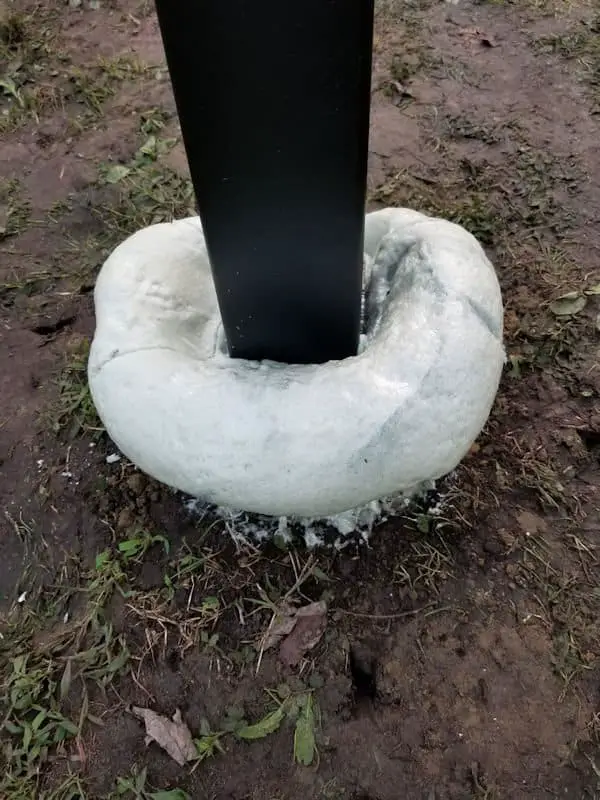
Despite the fact that my hole diameter was larger than 8″ inches and the depth was only 19″ inches I felt confident the foam would fill the hole just fine. After pouring the foam it quickly started to rise and after a couple of minutes it began to overflow the top of the hole.
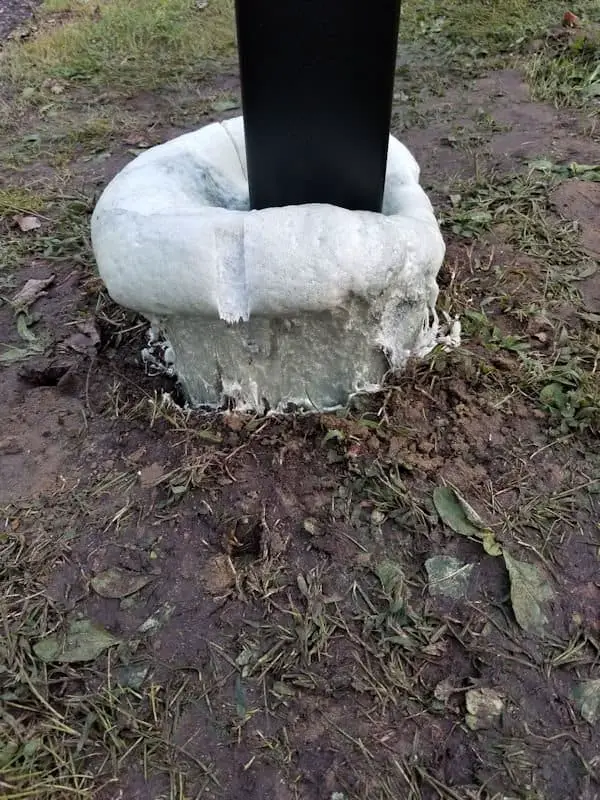
After the foam stopped flowing it easily filled the entire hole and came up and out of the hole quite a bit as well. Everything worked nicely, the instructions say to wait 2 hours before doing anything to let it fully cure.
Does Sika Post Fix Work
After waiting a little over 2 hours I checked the results. Everything looked good, I pushed on the post a little bit to see how well it was holding.
I was pleasantly surprised that it seemed to be working quite well. Satisfied with my little quality control test I proceeded to take a hand saw and a small knife and cut off the excess foam that had overflowed out of the hole.
This turned out to be more difficult than I thought, the foam is pretty strong and it took some effort to cut it back. I even cut down a little into the hole so that I could place soil on top to hide the foam.
I then attached the mailbox and made sure everything was still sitting level and checked my measurements one more time. Everything looked good. So far it seems to be working very well. Of course time will tell how long this will last.
I have read that utility companies use foam to install telephone poles so that gives me confidence that this will work just fine.
The other benefit I see is if for some reason I ever need to remove the mailbox post it should be much easier to remove the mailbox post secured in foam rather than secured in heavy concrete. That benefit alone makes it worthwhile for me to use the foam.
I think this is the best mailbox and post combo. It is a great looking setup and the foam made installation very simple. If I was going to do it all over again I would do it exactly the same way.
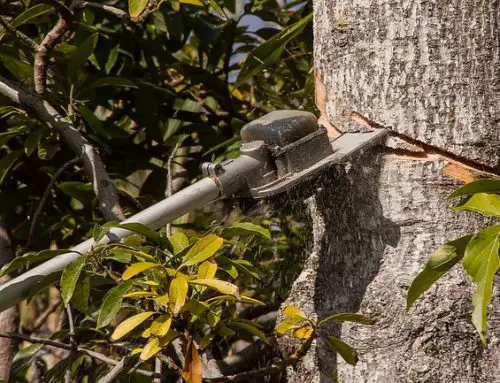
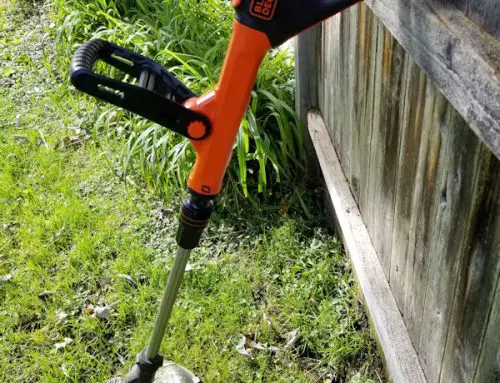
So that is a great way on how to install a mailbox post without concrete. Make sure to take a look at the Best Weed Eater reviews so you have something to trim the grass that will grow around your new mailbox post.

