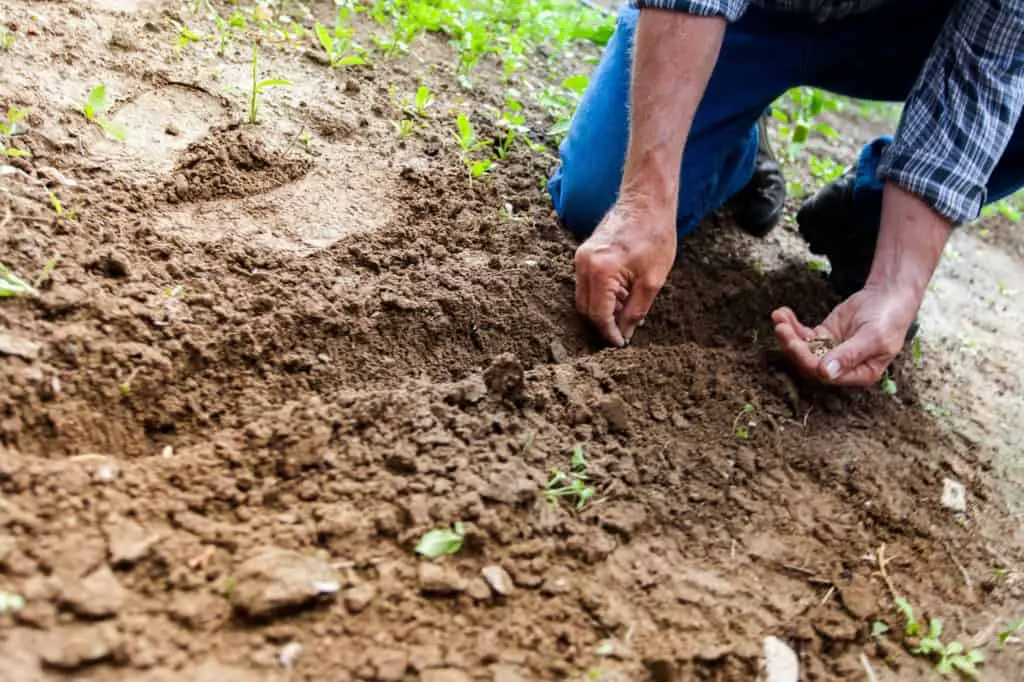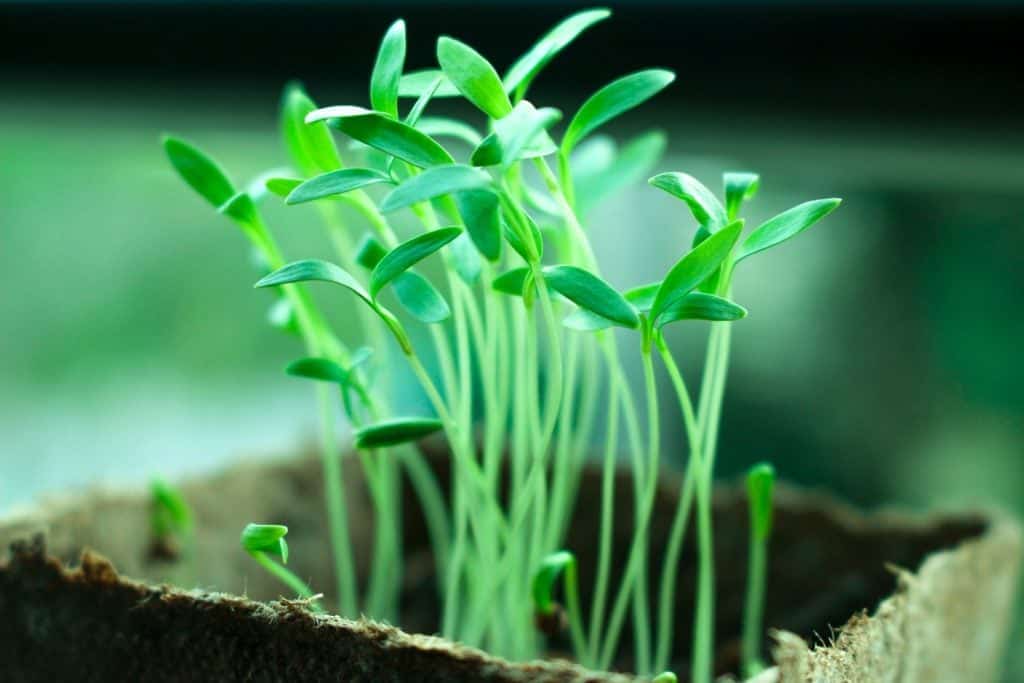
Germinating Seeds is great if you are looking to garden on a budget, or just feel the need to be completely self-sufficient. If either is the case, then starting seeds for your garden may be a great solution to consider. It does take more time and patience than buying seedlings from the local nursery but there is a great sense of satisfaction in knowing you cultivated plants solely by yourself.
Germinating Seeds Basics
Before you get started there are a couple of important aspects to consider when starting seeds for your garden.
- Timing – plants need to be planted in the ground at a specific time in order to avoid frosts, and nighttime temperatures that are too low for tender plantlets. You will need to figure out germination times, and about how big you want plants to grow before planting. You can then determine when to start your seeds based on this. Many seed packets will state on the back of the package when to sow inside to help with your planning.
- Equipment – you will need to invest in supplies you might not necessarily have on hand. This does add to the upfront costs of your garden endeavor but seeds are much cheaper to buy than seedlings/plants. These supplies can also be reused the following year if you want to repeat the process.
- Space – germinating seeds indoors will need a dedicated space that is warm, free from cold drafts, and receives adequate light (unless you are purchasing growing lights). The space you have to work with in your home is most often the limiting factor.
Germinating Seeds Supplies
After the timing is figured out, you will need to have the following supplies on hand:
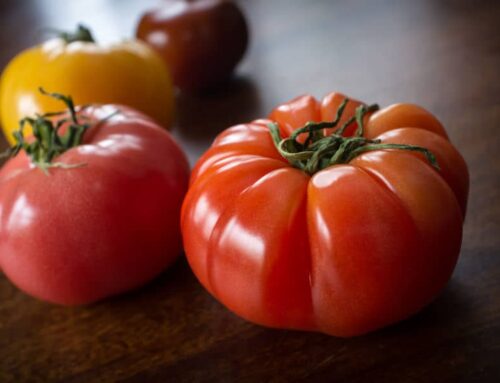
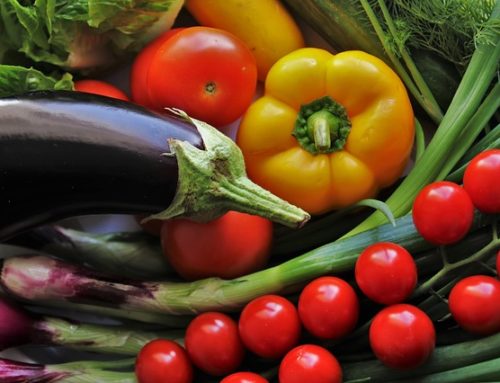
Seeds – Some of the easiest plants to start from seeds are tomatoes, peppers, broccoli, cauliflower, radish, and cabbage. To keep yourself from getting overwhelmed, first choose a handful of plants that you (and your family) will eat, and then pick a couple of different varieties. Seeds can be found online, at local nurseries/gardening centers, and at most big box retail stores.
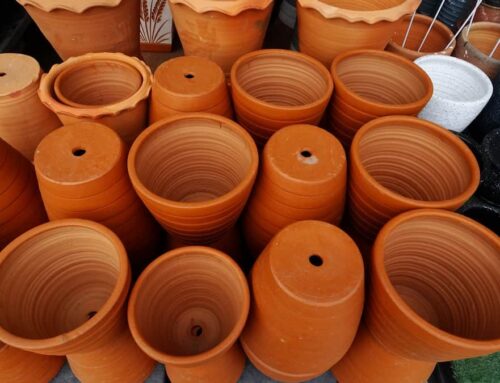
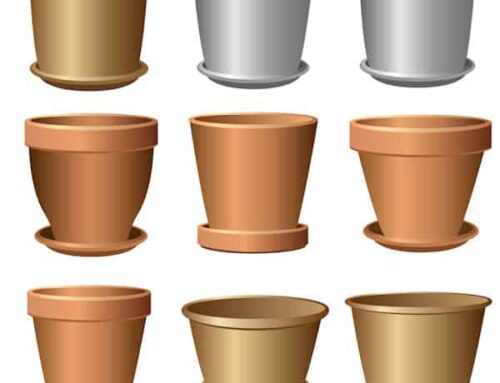
Planting trays with covers – Seeds can be started in almost any kind of containers, but using seed starting trays is the most convenient way. If you are using your own containers they will need to be sterilized in a bleach solution (1 part bleach to 9 parts water) and rinsed well prior to using. There is no need for containers to be bigger than 3-4” across, since plants will be transplanted outside once the weather permits. In the early stages of growth, covers are beneficial to help maintain a moderate level of humidity in the trays.
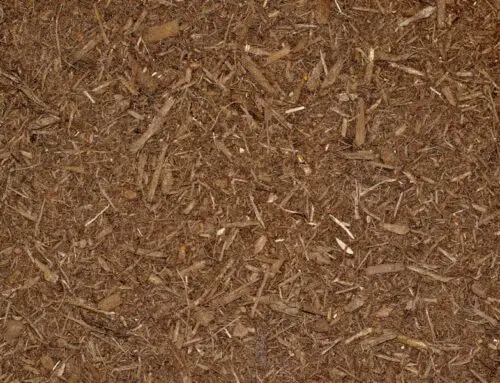
Potting soil – For the best chance of success, purchase a growing medium that is specifically designed for starting seeds. It will be light and fluffy allowing the roots to grow down through the potting soil and will hold just enough moisture without encouraging disease.
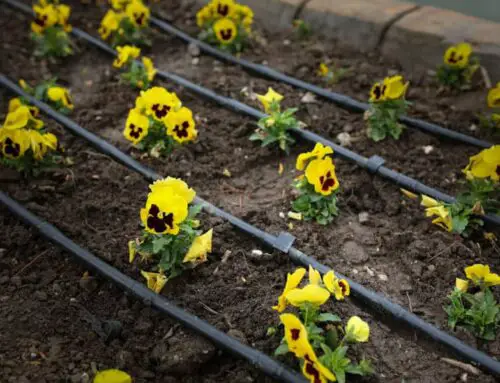
Water – This seems like a no-brainer, but your seeds will need plenty of water/moisture to get started. The tricky part is not overwatering them and encouraging disease/mold growth. Seeds may need to be soaked prior to germination (your seed packet will tell you if they need this step), growing medium will need to be moist for planting, and then seedlings will need to be watered, preferably from the bottom, as the soil dries out.
Sunlight – To keep your new plants from getting tall and spindly (i.e. “leggy”), they need plenty of light during the day. For optimum growth they should receive 12-16 hours of bright sunlight. A window with southern exposure will work the best, if available. Chances are though, to get the most robust growth you will need to invest in some growing lights.
Germinating Seeds Instructions
The actual process of germinating seeds is fairly simple.
- Moisten potting soil in a large bucket, or bowl, adding enough water until the mixture “clumps” together when you grab a handful. Make sure it isn’t overly wet and dripping water.
- Fill planting containers with moistened potting soil. Pack the mixture down moderately to fill in any gaps or air pockets.
- Seed packets will tell you whether the seed needs light or complete darkness for germination and if they need to be soaked in water before planting. If they need light, sprinkle seeds on the surface of the soil; seeds that require darkness need to be planted beneath the soil surface. The general rule of thumb is to plant seeds at a depth that equals 2-3 times the width of the seed. It’s best to err on the side of caution and plant seeds too shallow, than too deeply.
- Moisten newly planted seeds with a mister or spray bottle, cover with a lid to maintain humidity and place in a warm spot to germinate.
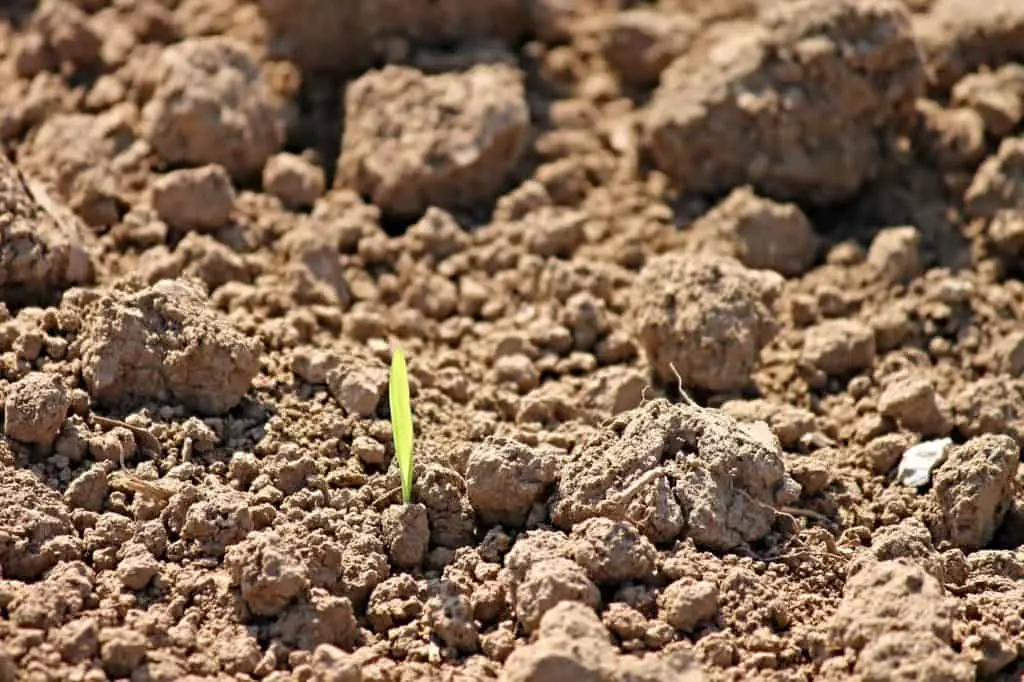
- Keep the soil moist but not sopping wet and check on the planting trays frequently. When your seedlings begin to emerge remove the cover to allow air circulation. At this point move your trays to a south-facing window or place growing lights about 3” over the tops of the plants.
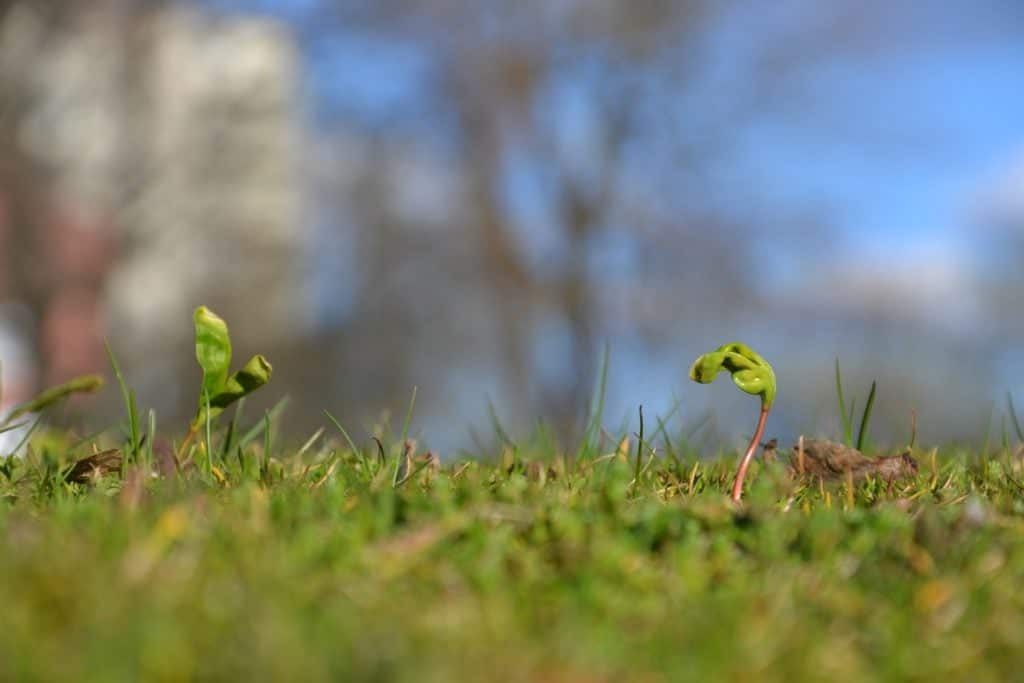
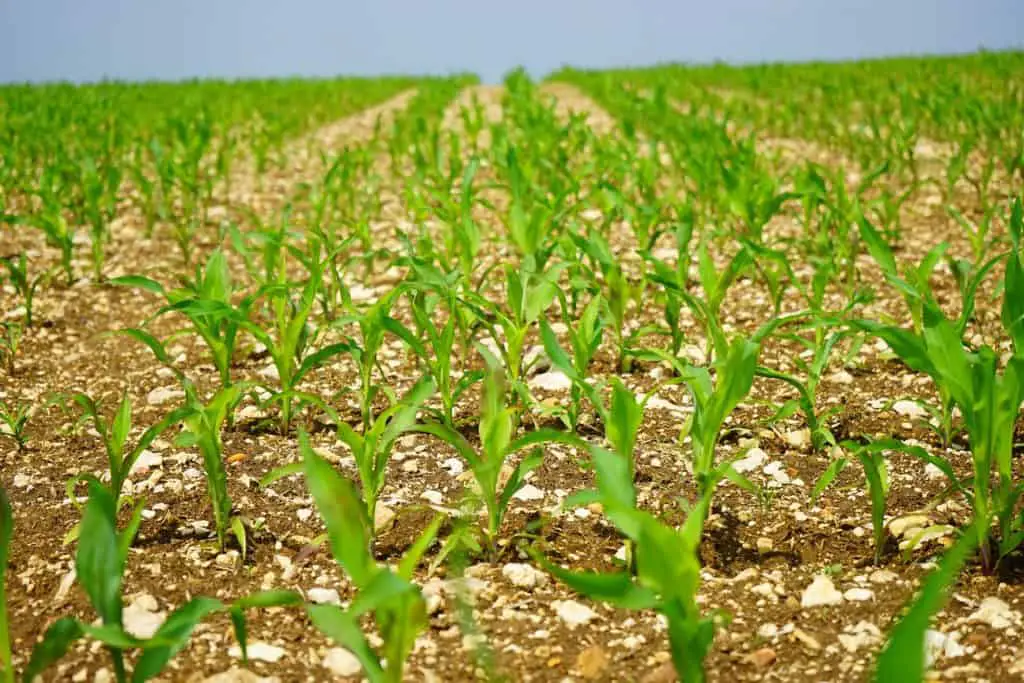
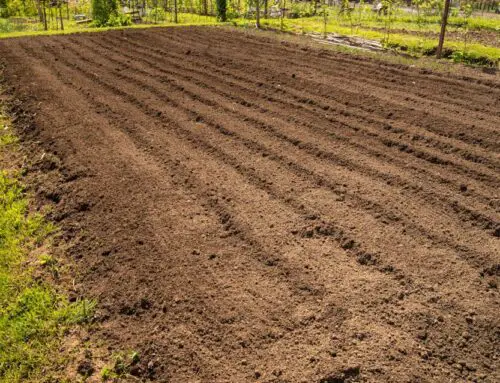
When your seeds are ready to be moved outdoors, give them some time to acclimate to the climate before putting them in the ground. A few days to a week before you plan on putting them in the ground put the planting trays/containers in a protected spot outside for a few hours. They do need to be brought in at night! Gradually increase the exposure to wind and sunshine until it’s time to plant.
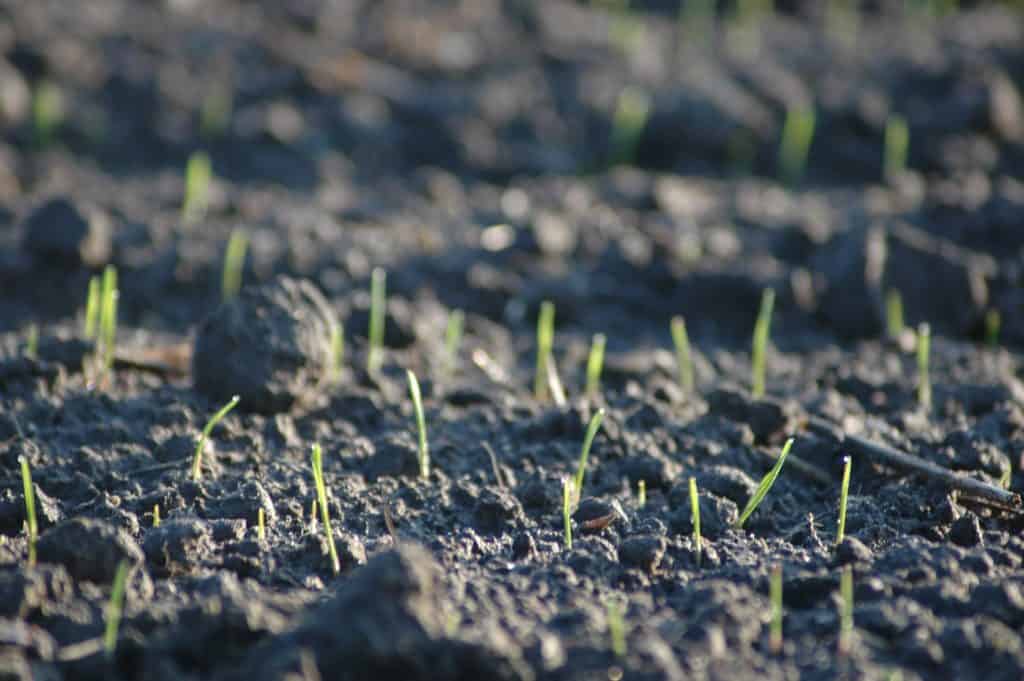
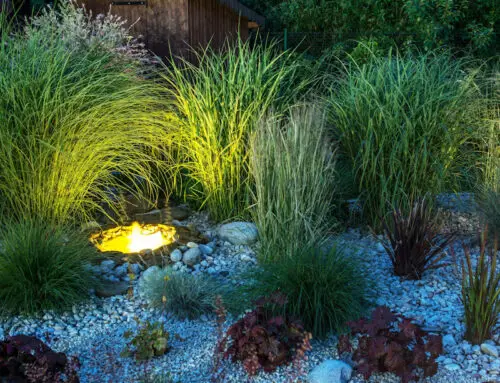
Planting your own seeds can be a rewarding, and budget-friendly way to start a garden. Some seeds need to be started indoors giving them time to grow before they can be moved to their spot in the garden. These tips and ideas will help make your seed starting venture a success!